Post on Twitter using Notion
Schedule your Tweets on Notion and tweet them using automateIO and Buffer!


Scheduling your tweets and posting them through Notion sounds cool right? Yes, it is easy to implement as I'm using no-code tools for automating this for Free. In this blog, I'll show you step by step process of automating this process from scratch!
What you'll need:
(P.S. I'll show you how to create these account step by step)
• Notion account (Link)
• AutomateIO account (Link)
• Buffer account (Link)
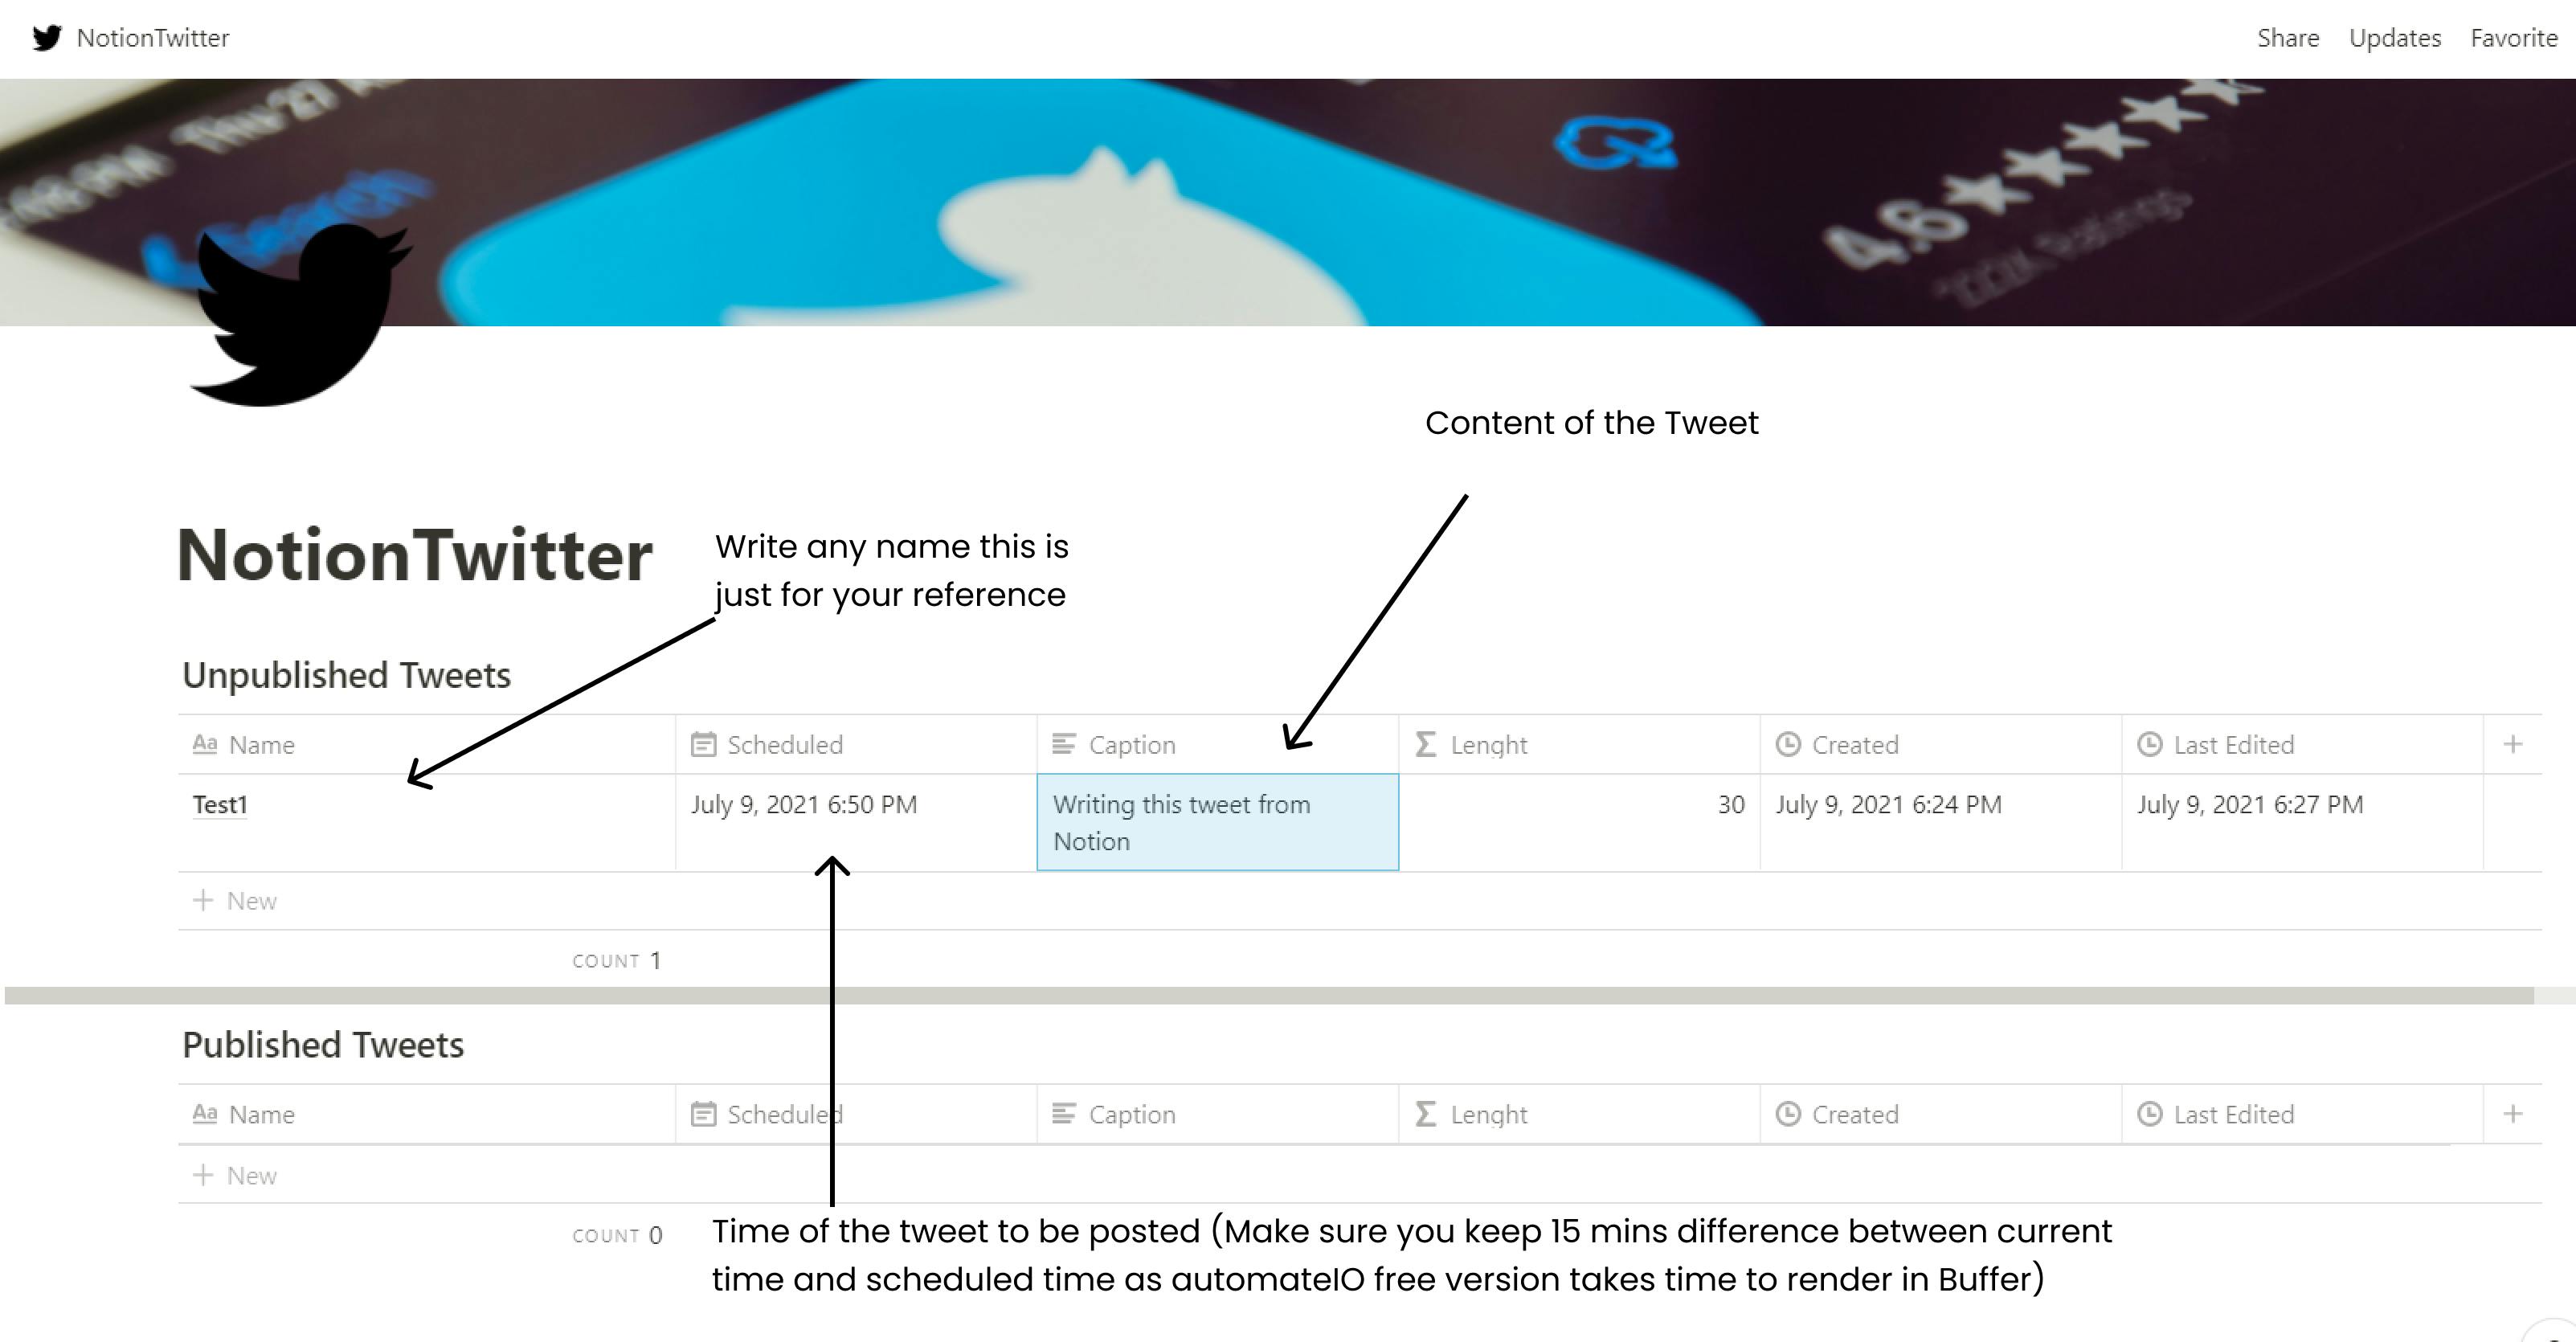
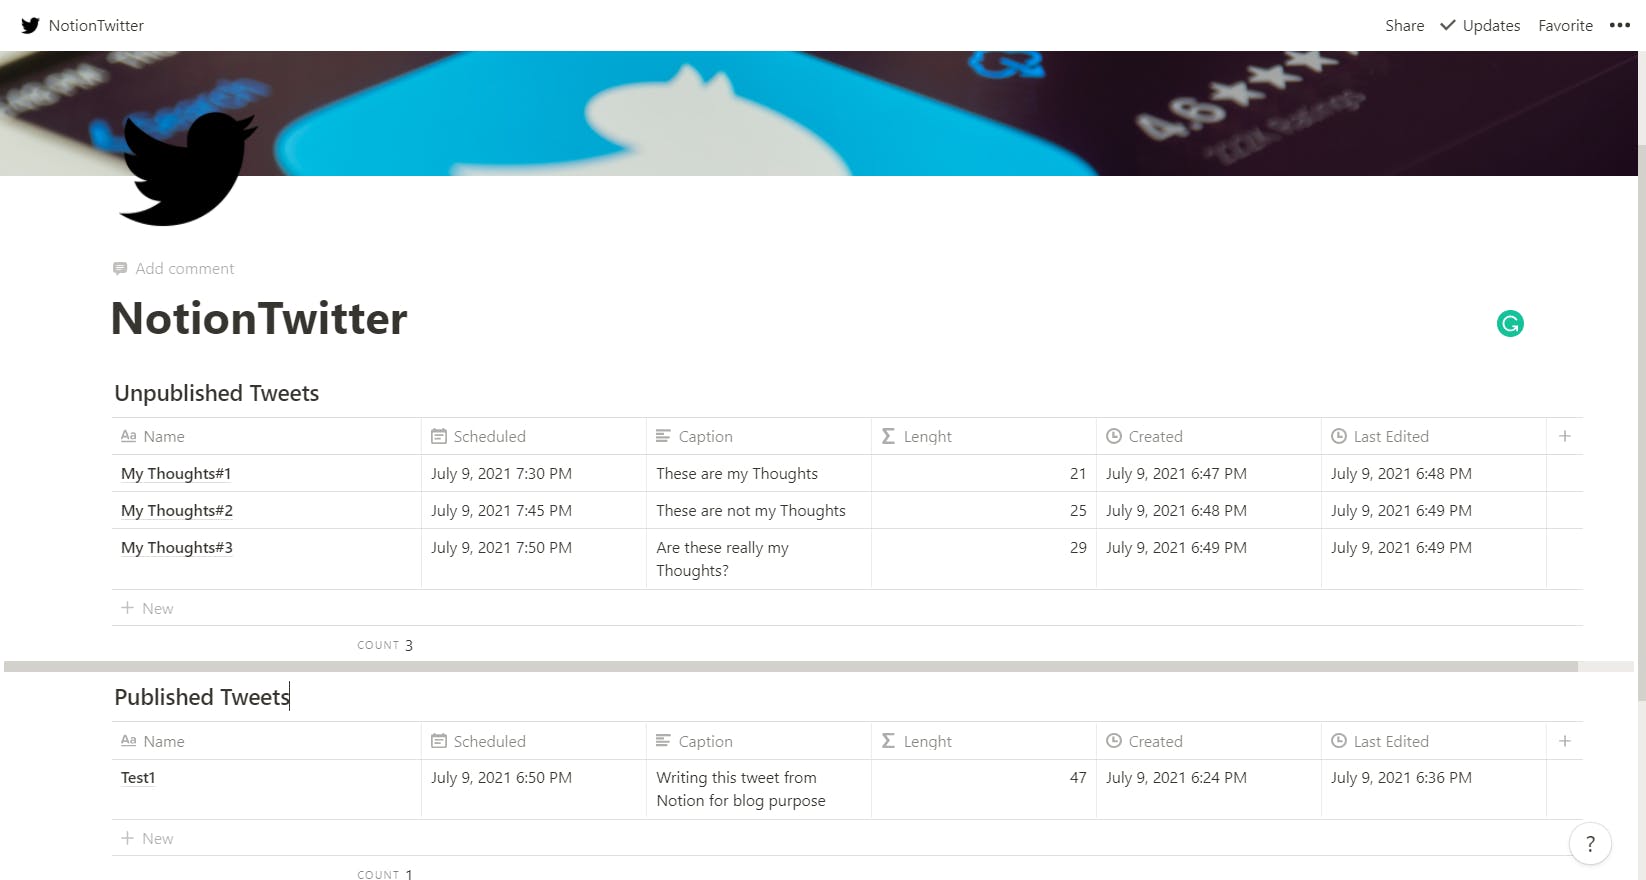
First I'll tell you about the Notion Template that I've created, don't worry I'll give you the link to duplicate it!
Refer the image below👇
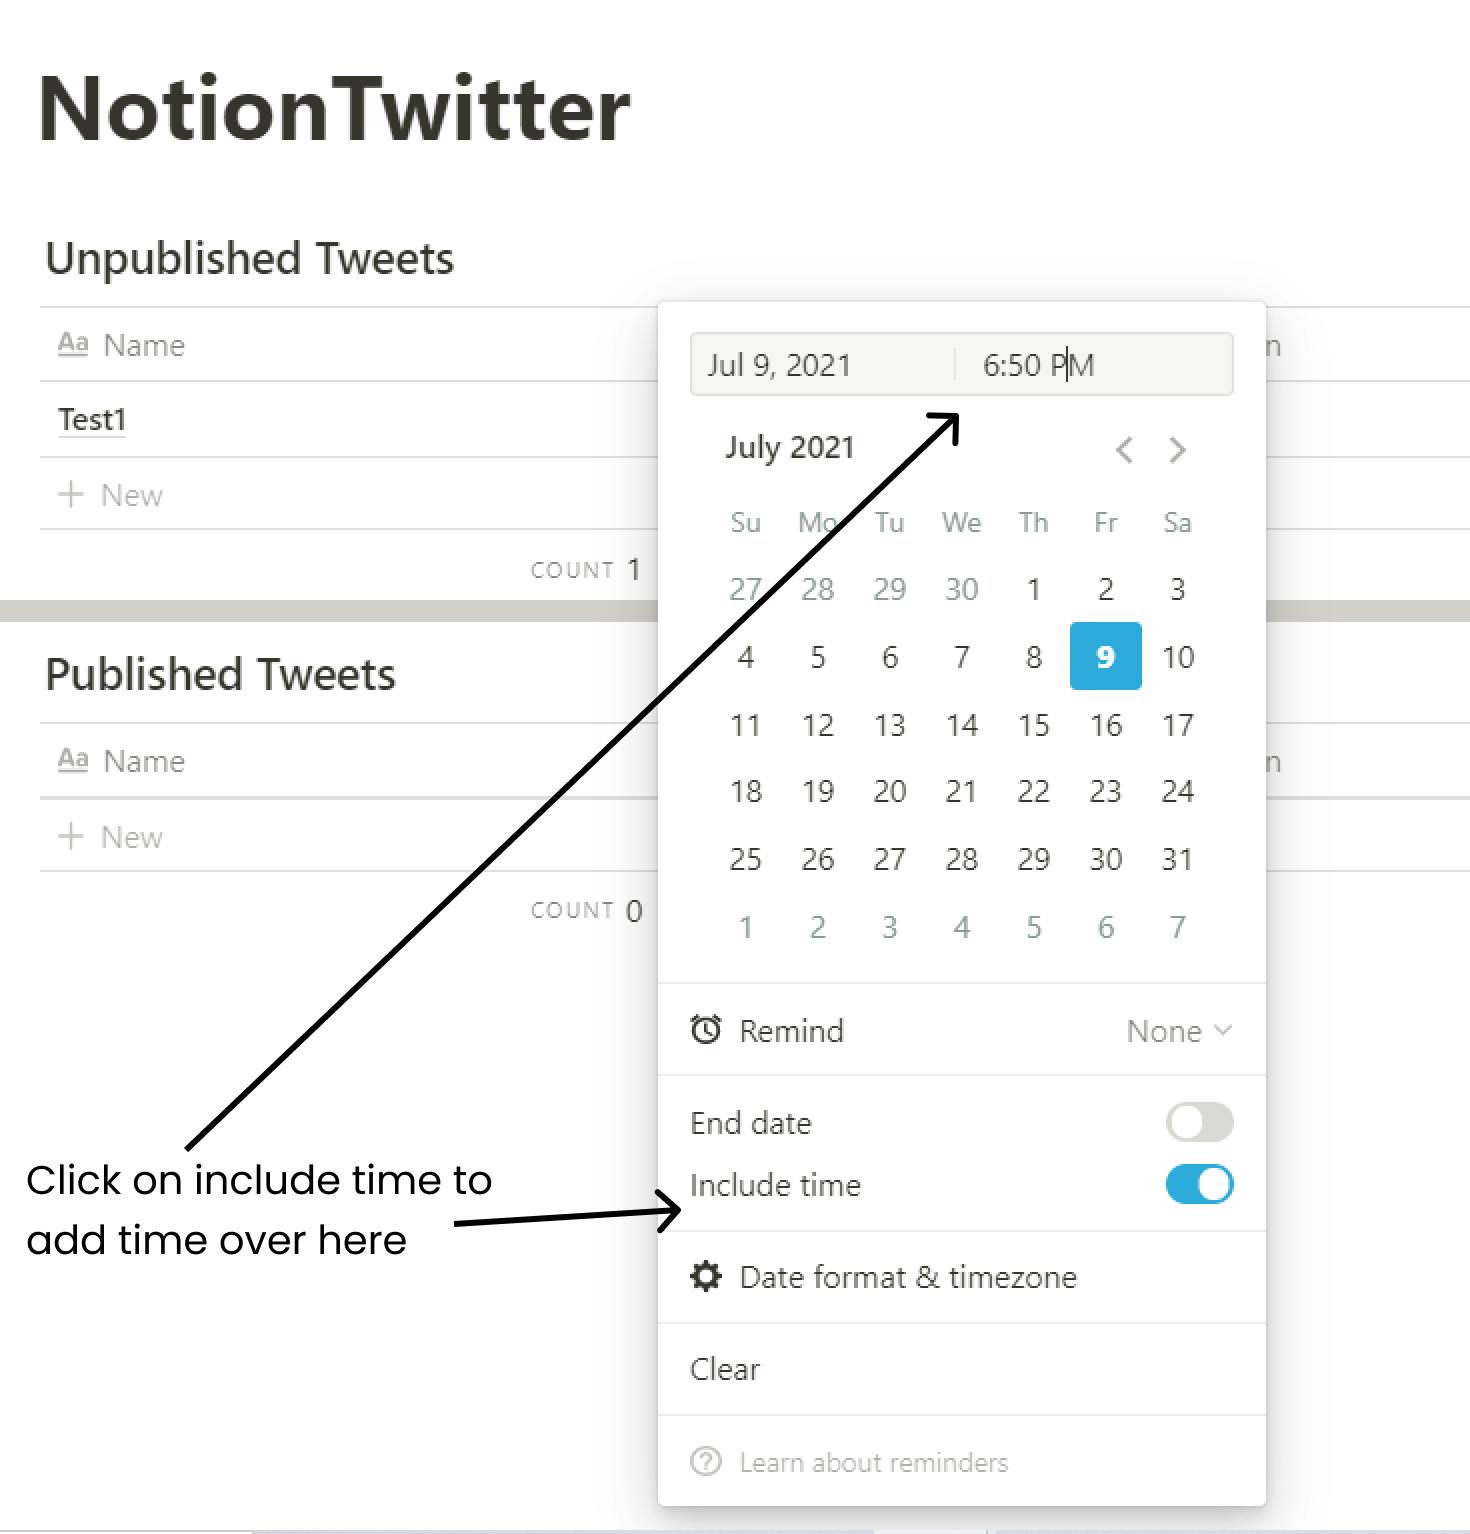
To add Time for scheduling👇
Now let's get started with scheduling post on Notion!
Step 1 - Duplicate this Notion Template. Link to template
Step 2 - Creating a buffer account is pretty easy just click on create an account and follow the steps to link your Twitter account and authorize it!
(P.S. Make sure you connect your Twitter with buffer and authorize it)
Step 3 - Creating an AutomateIO account is also the same just follow the steps and come back and continue with the next step!

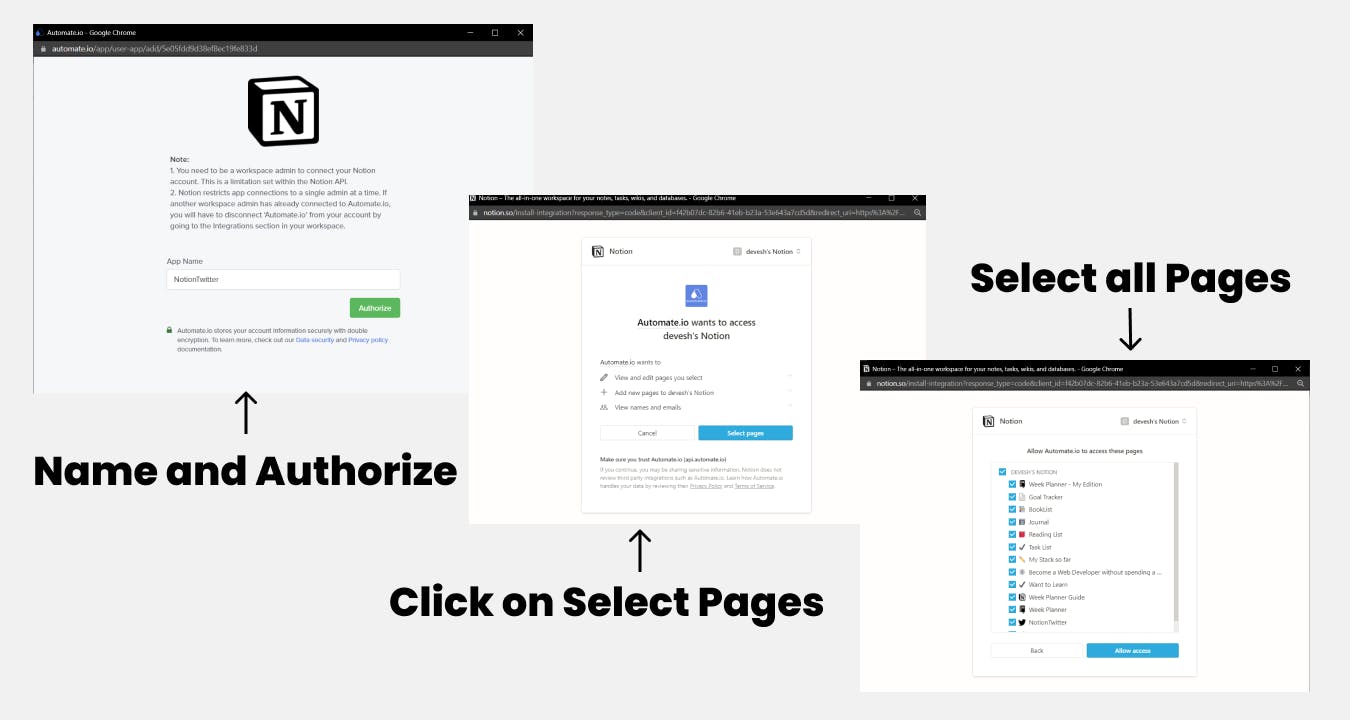
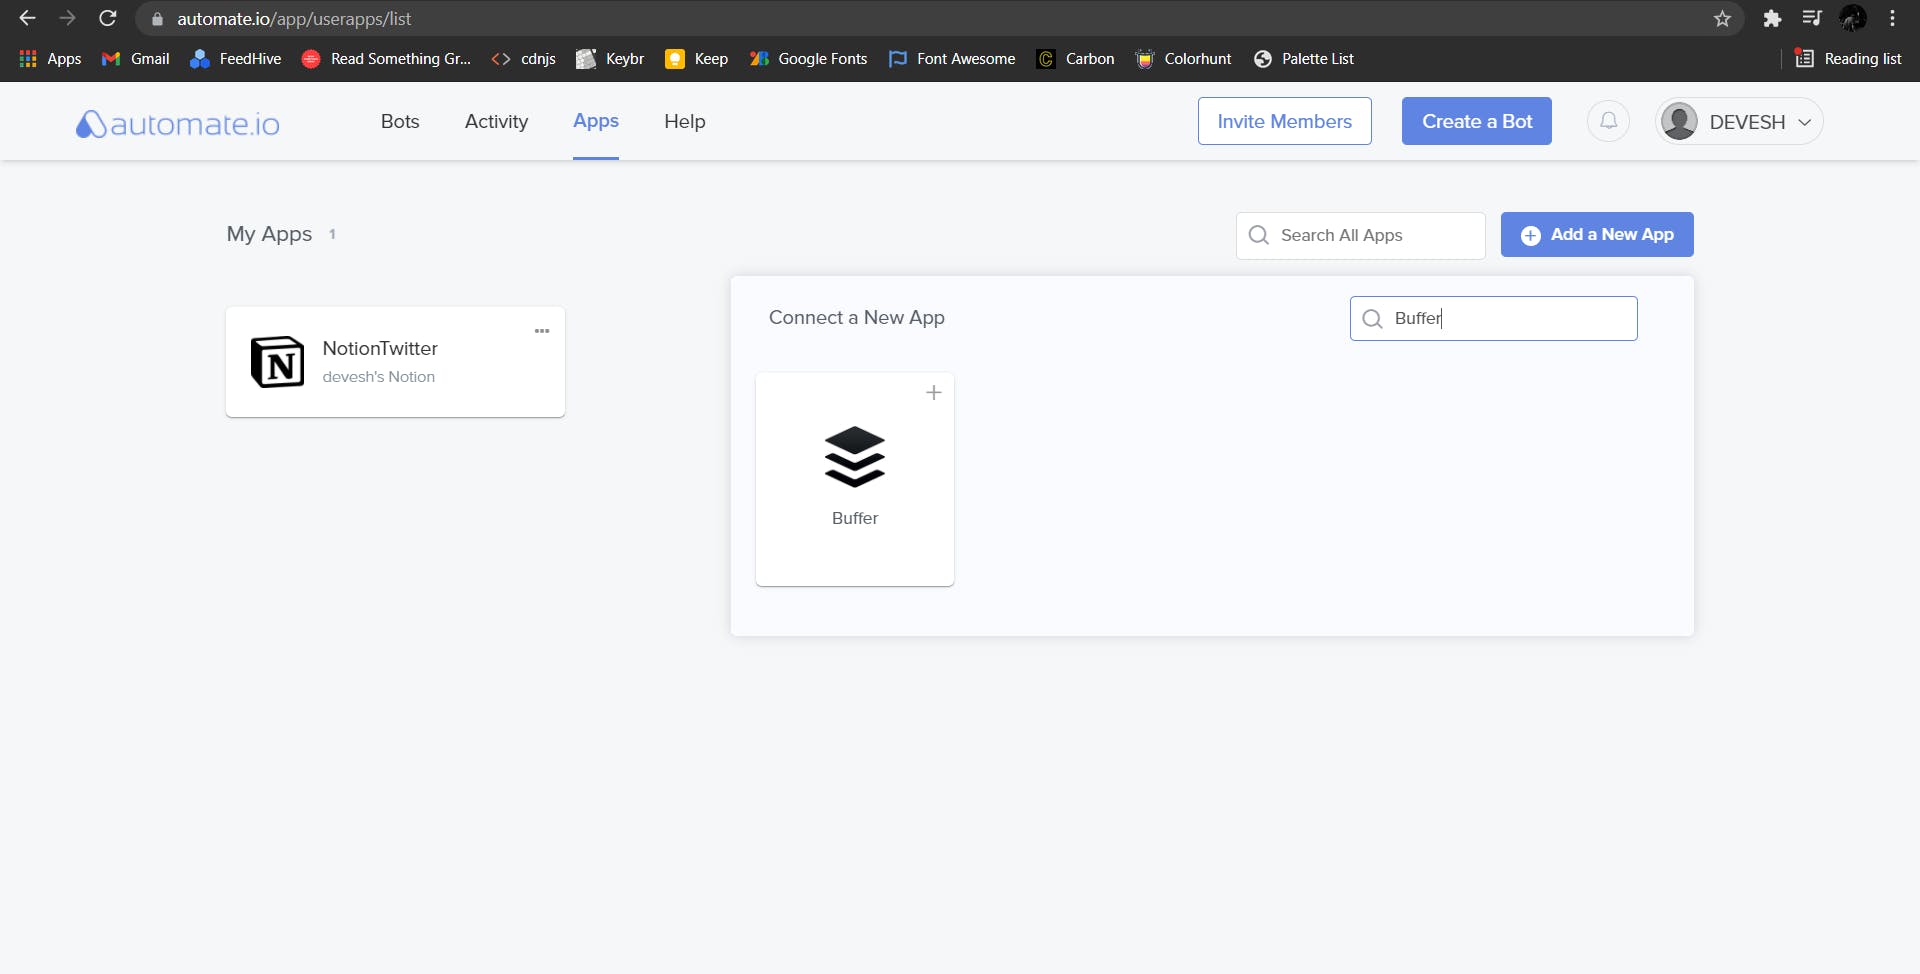
Step 4 - After creating an account, navigate to Apps on the navbar and then click on "Add a New App", search for Notion in the search bar and click on it!

Step 5 - Name the App as per your choice, click on Authorize and select all pages!
Step 6 - Again click on Add new app and search for Buffer and just authorize it.
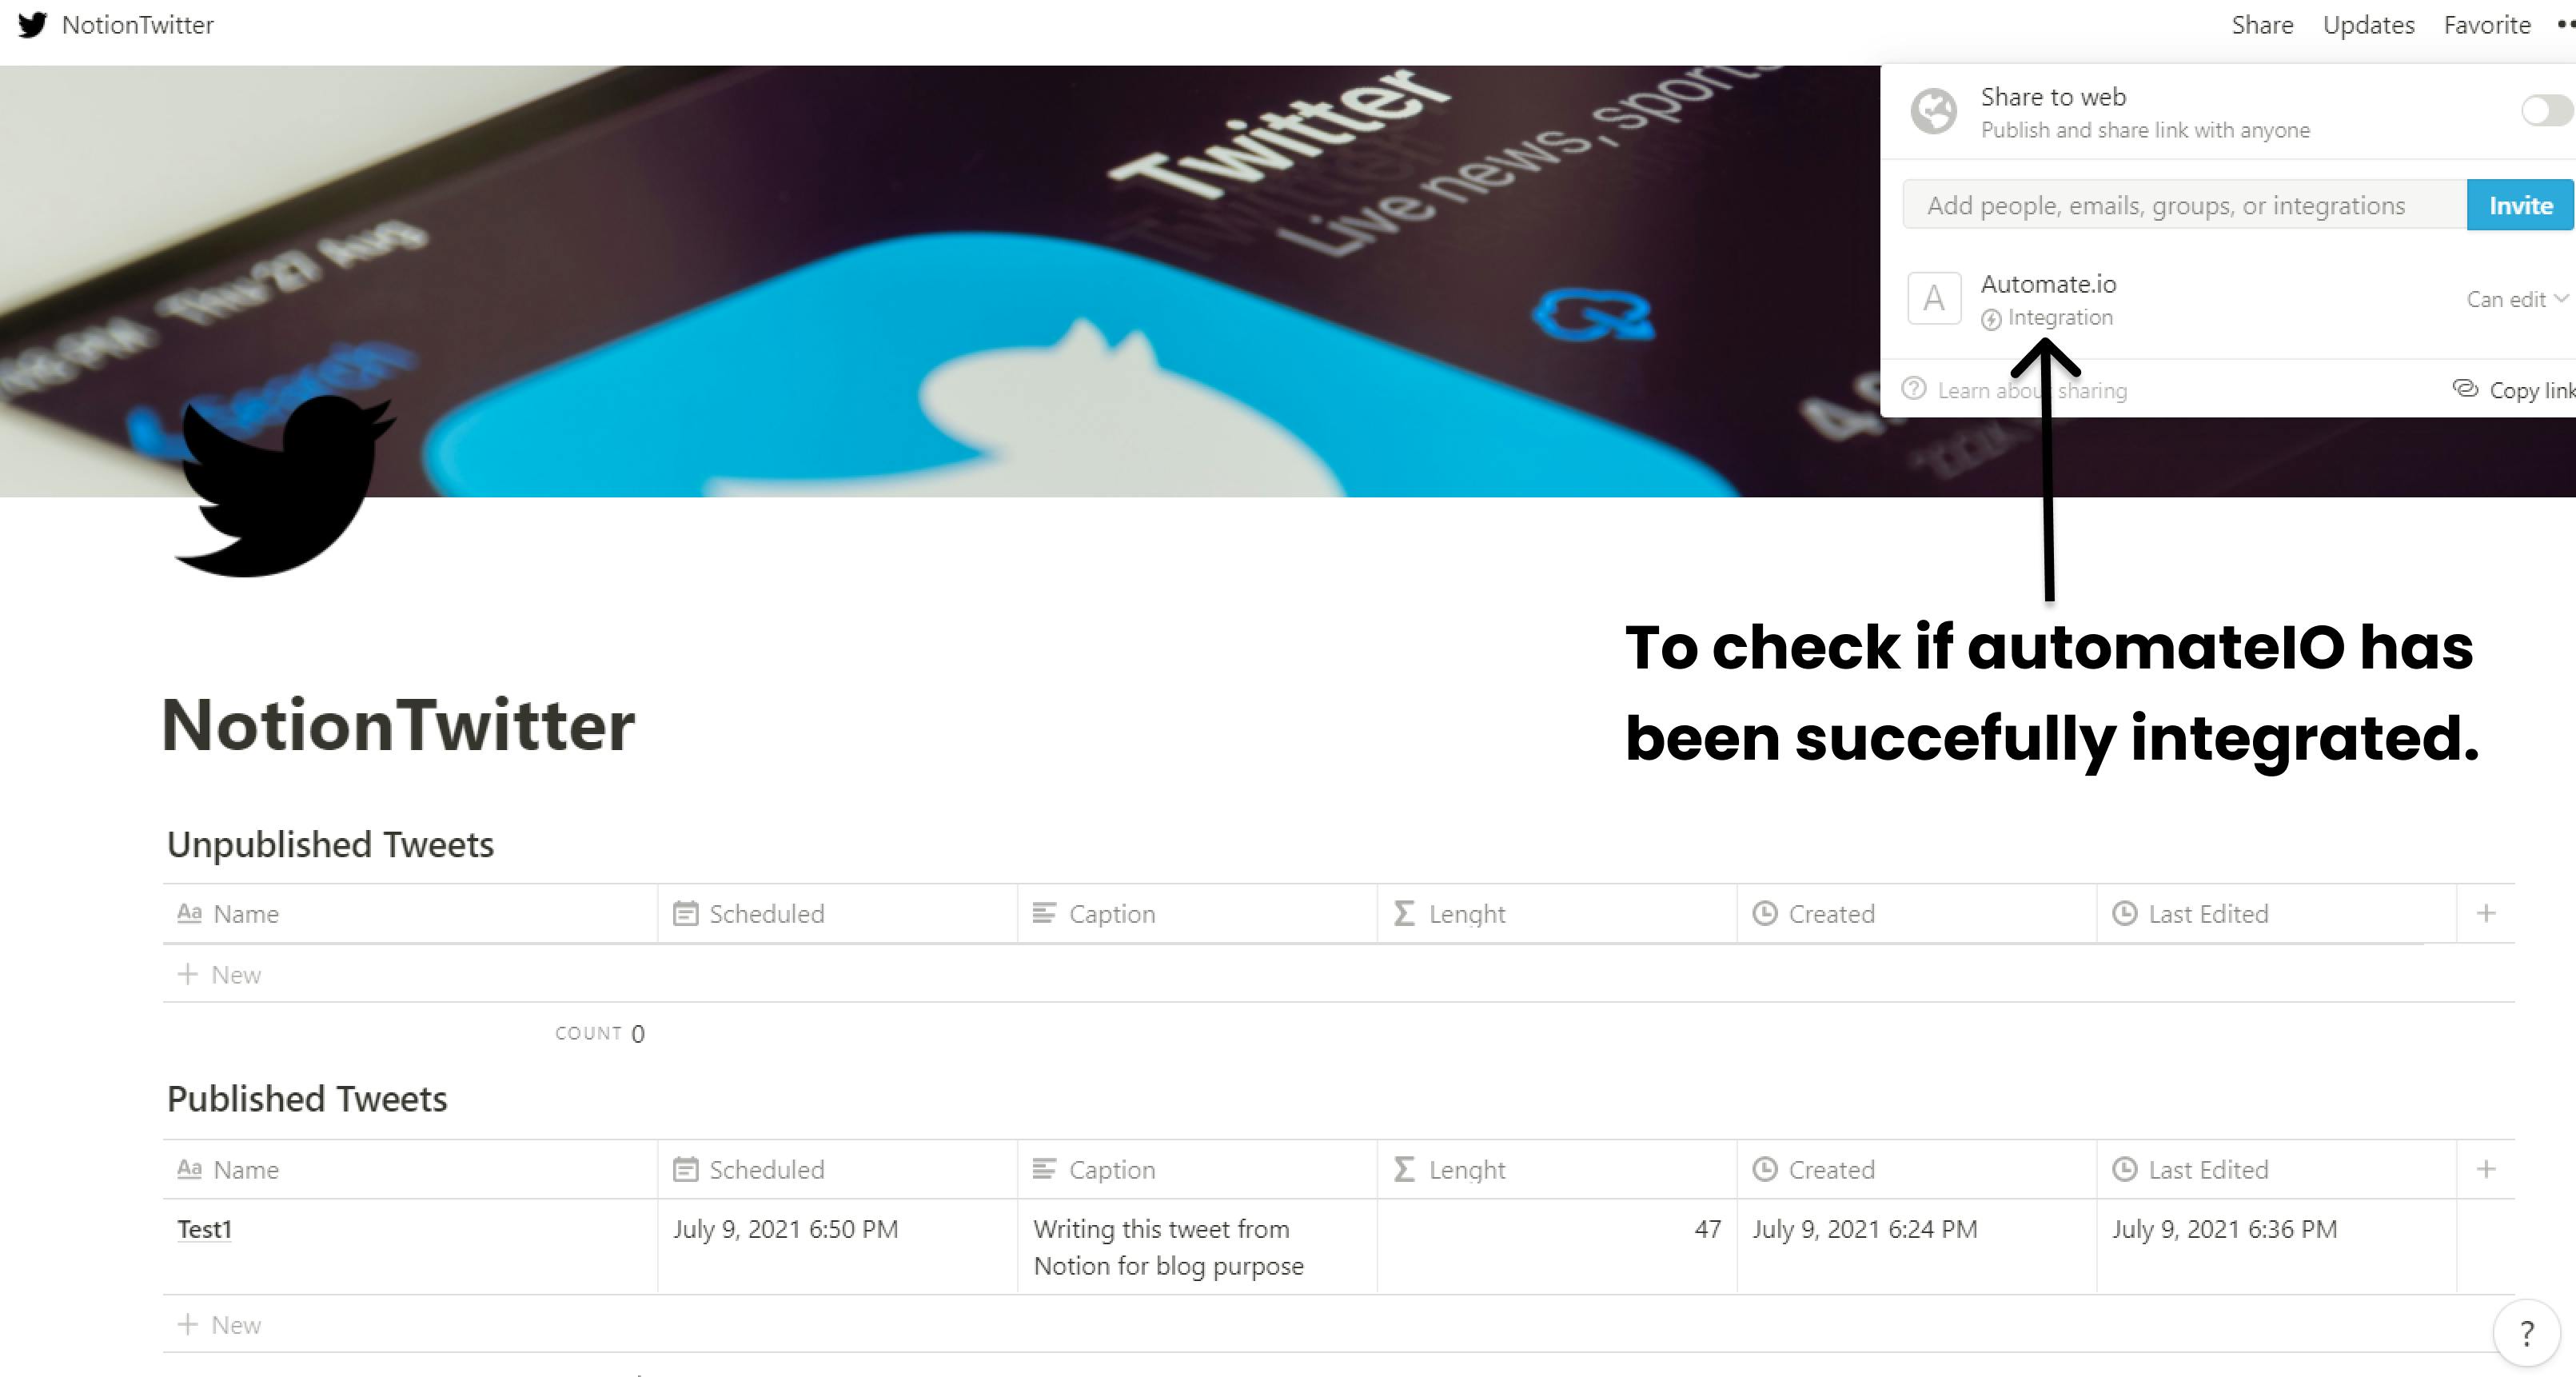
Check on your Notion template to see everything integrated successfully!
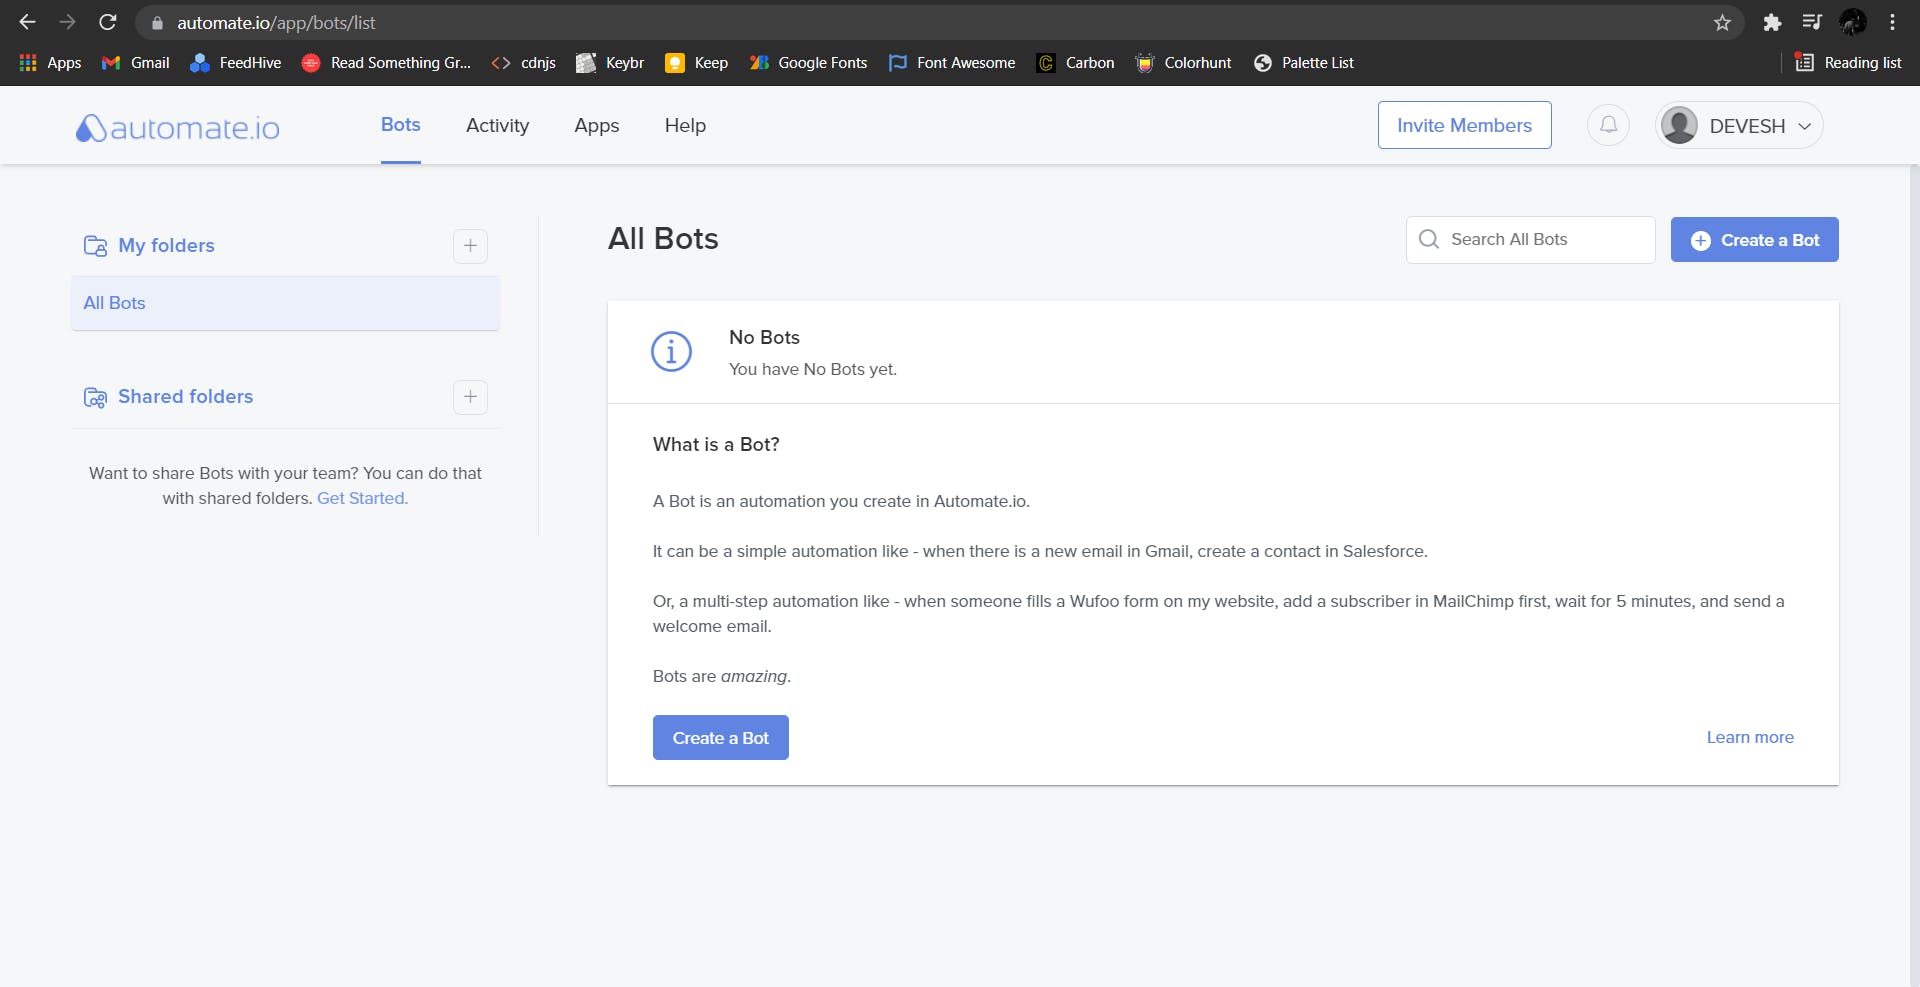
Step 7 - Now, navigate to Bots on the navbar and click on "Create a bot"
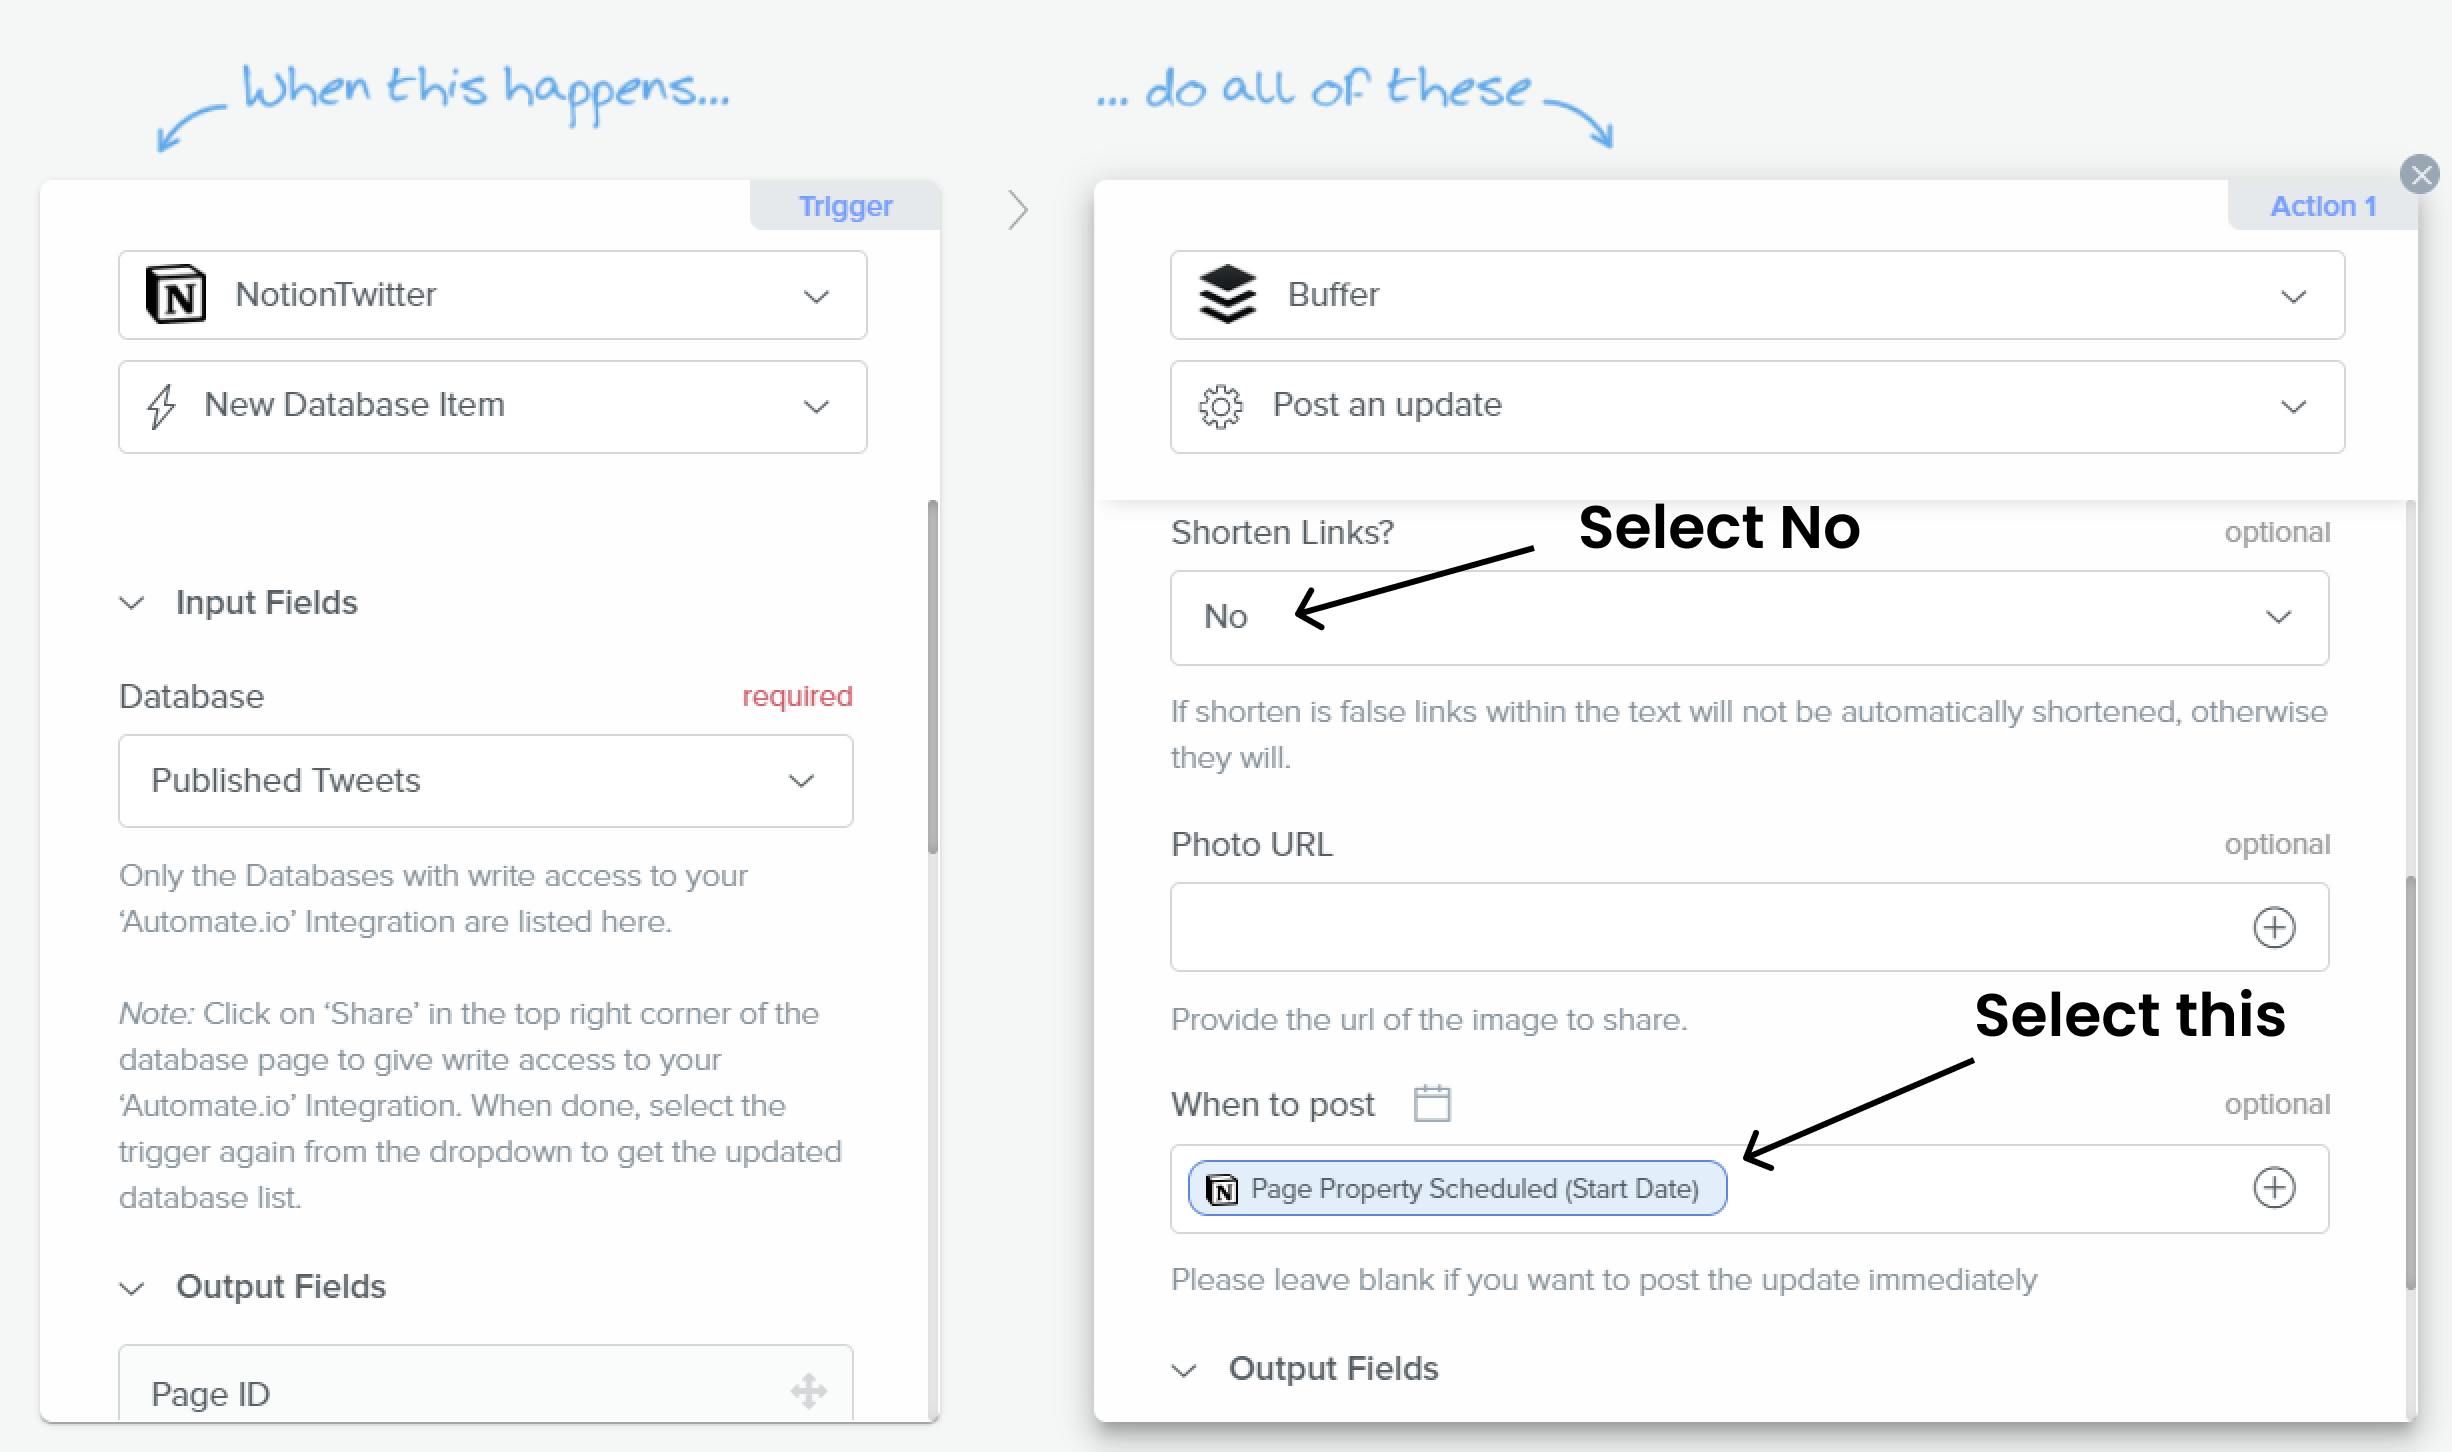
Step 8 - Select the trigger app as Notion and select New Database Item. Select action app as Buffer and select Post an update.
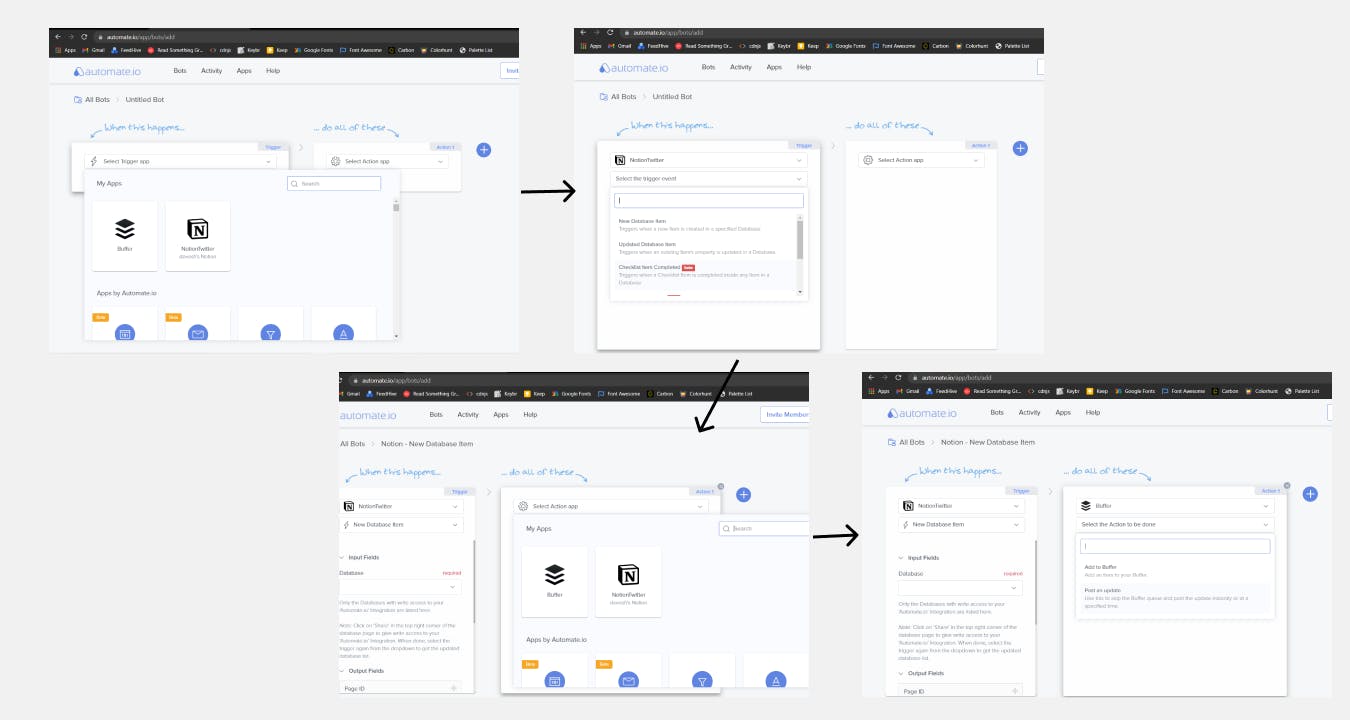
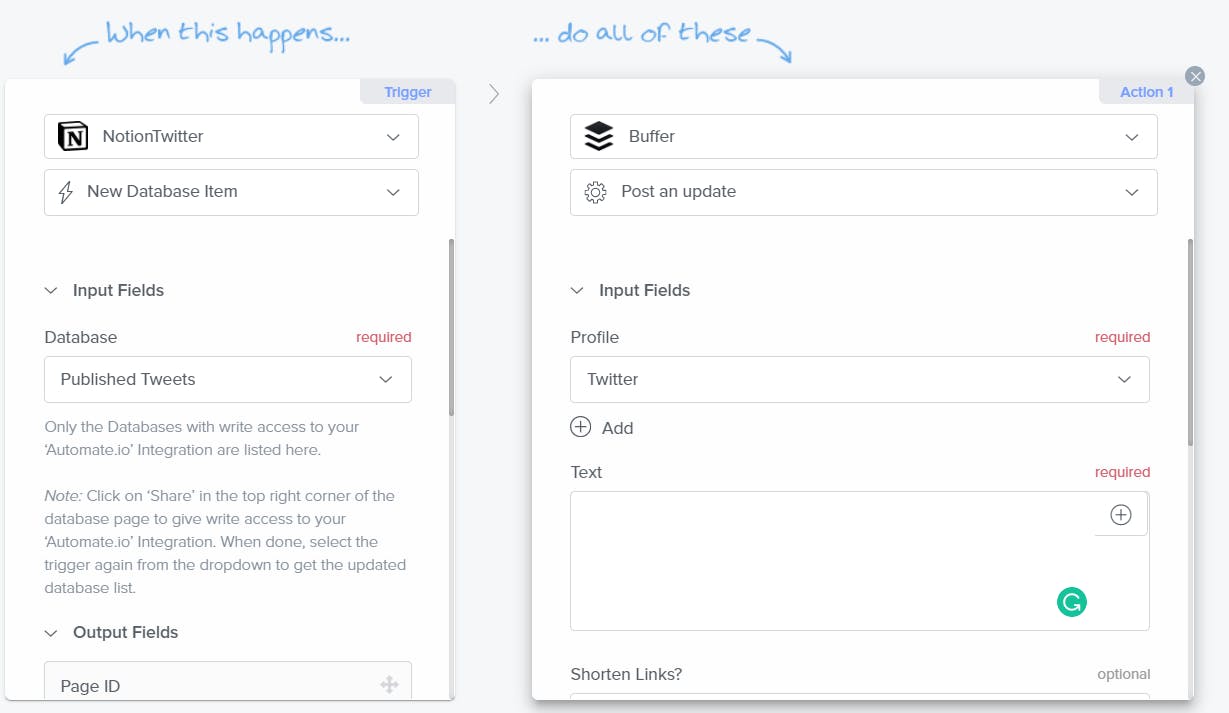
Step 9 - Now select database in Notion side as Published tweets and select profile on Buffer side as Twitter.
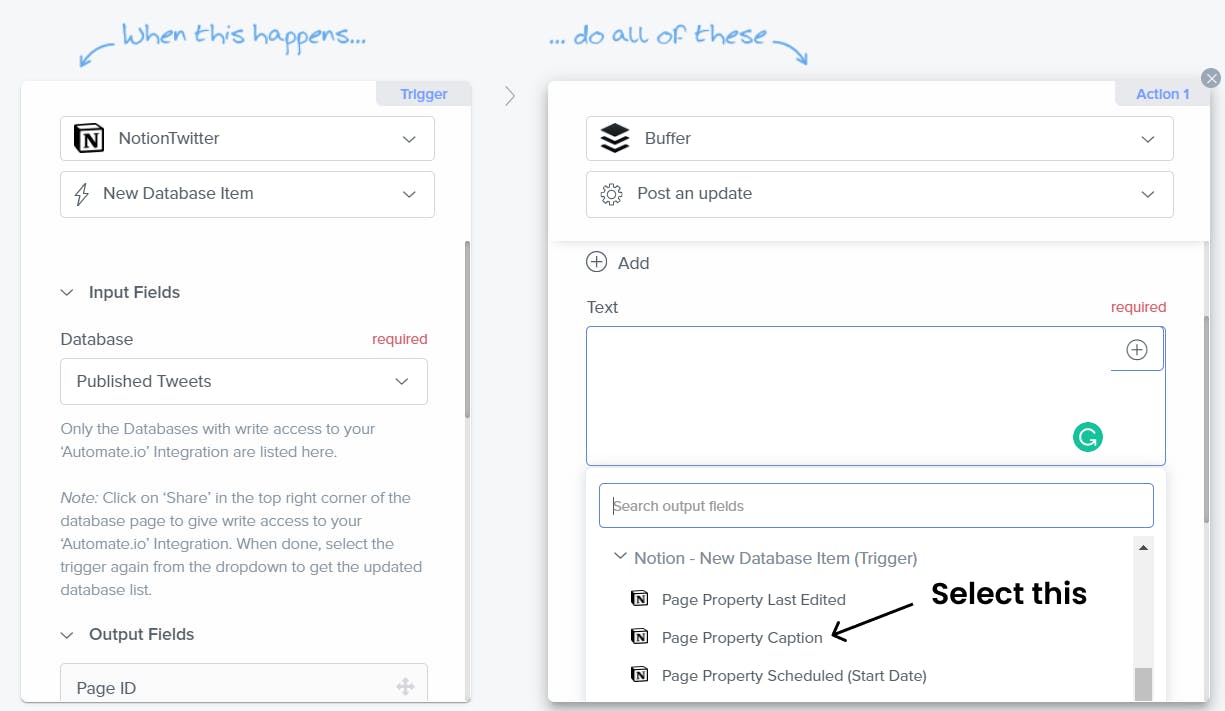
Step 10 - Now add "Page Property Caption" in the Text part of the buffer which will be posted on Twitter!
Step 11 - Change the shorten link option to "No" and Select when to post to "Page Property Scheduled(Start Date)"
Step 12 - Click on Save and Turn on the Bot
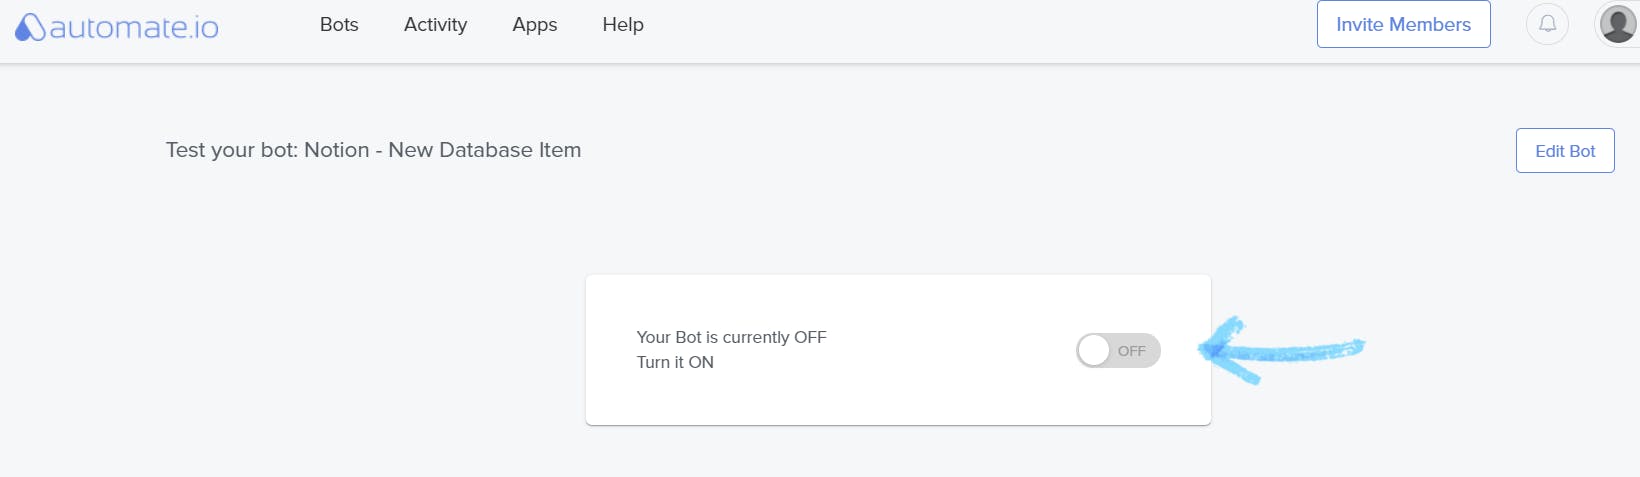
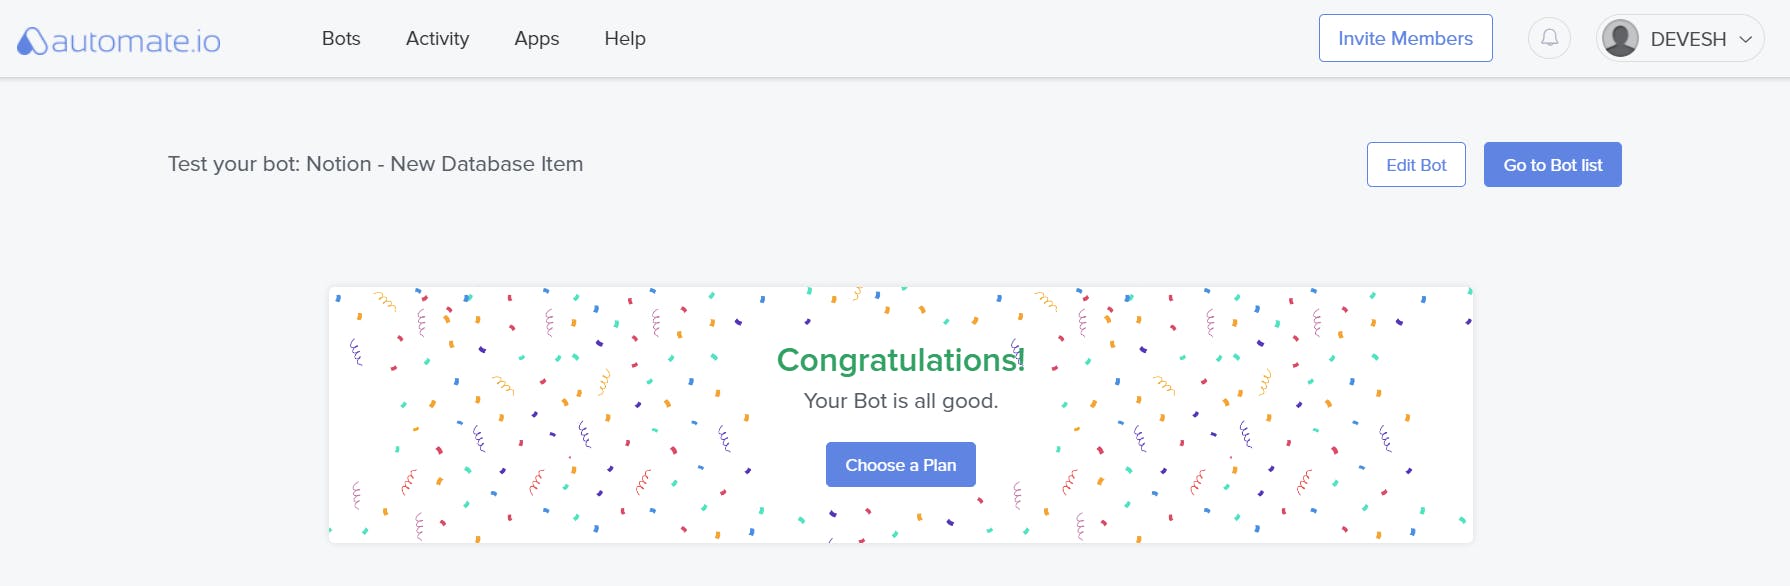
Step 13 - You'll see this Page👇
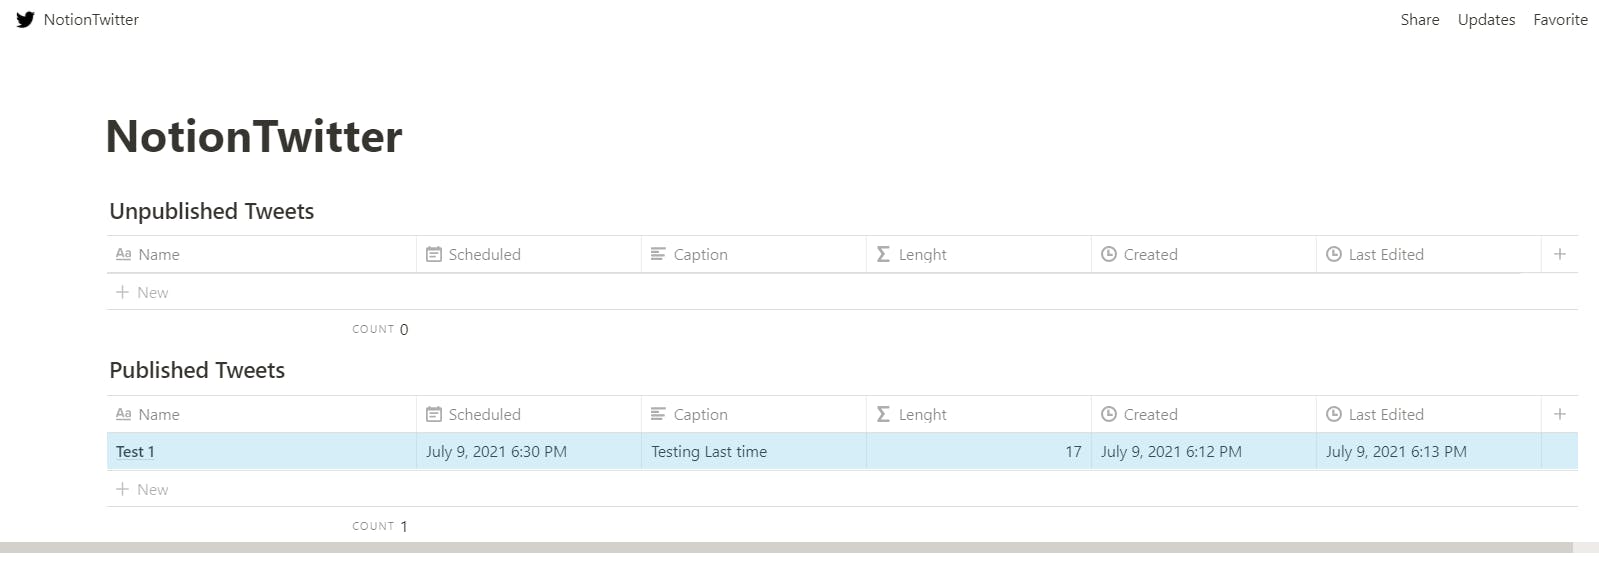
Step 14 - Now to go to your Notion page and drag and drop the Test 1 from Unpublished Tweets to Published Tweets
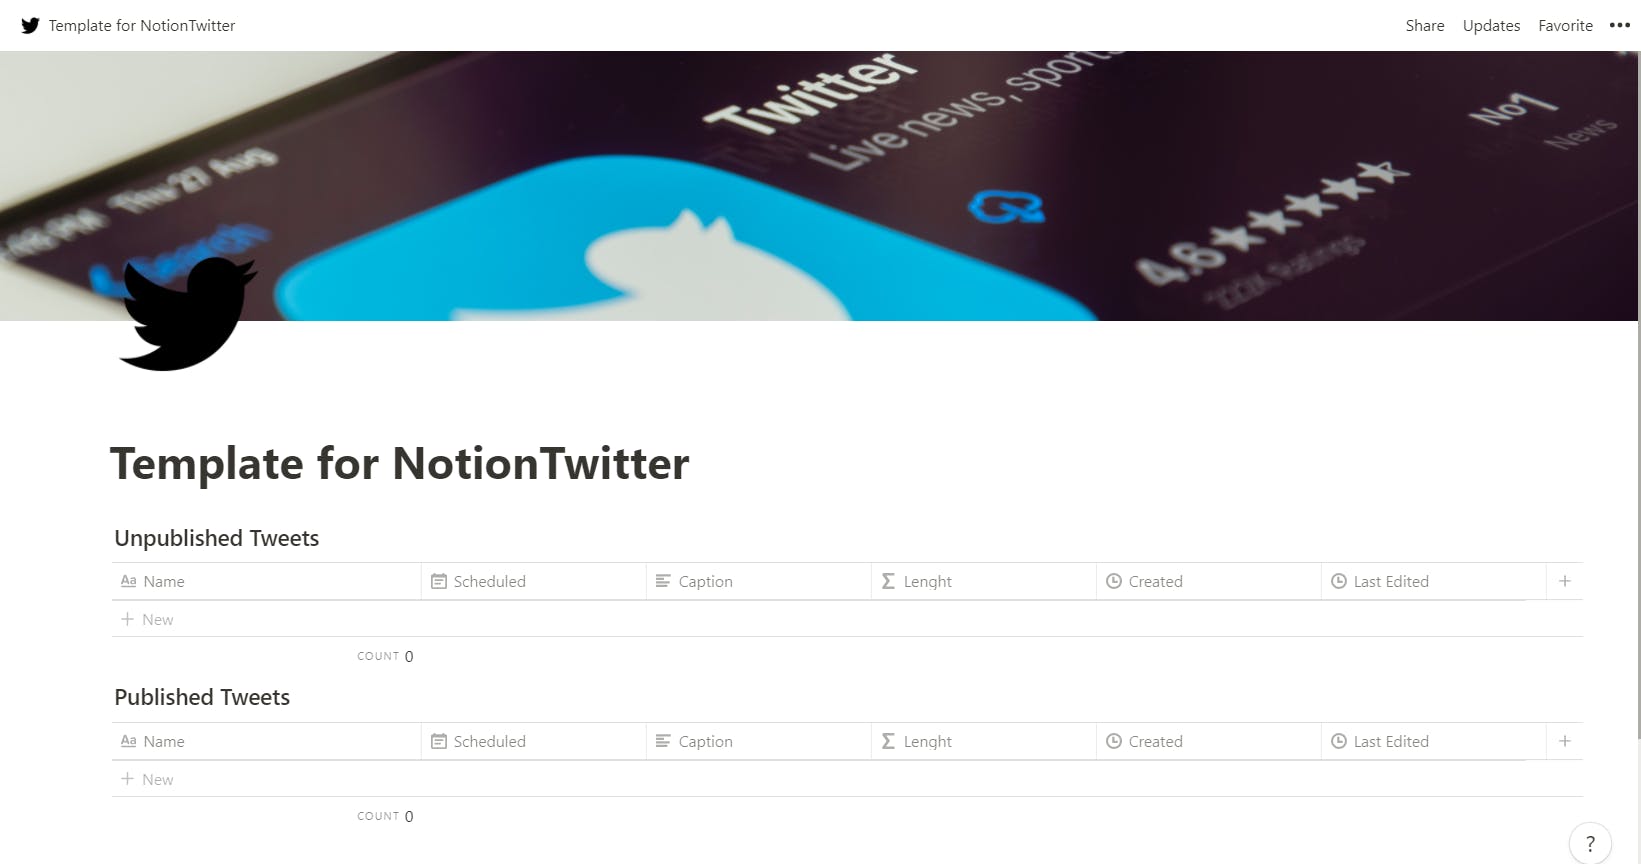
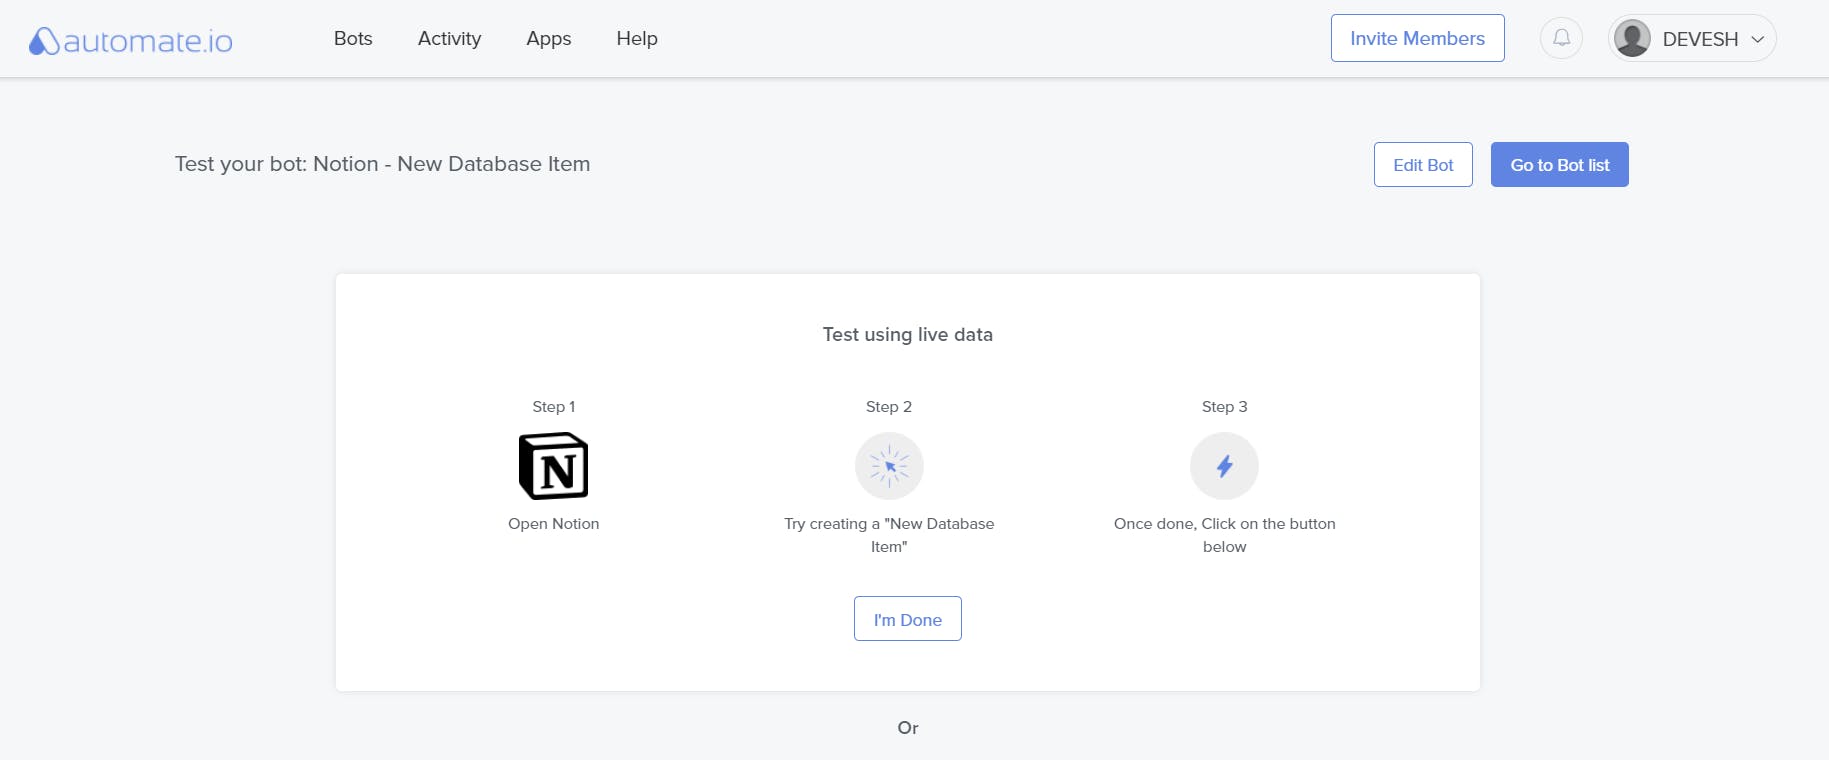
Step 15 - Congratulations you're all done if you see this Page!
Now you can add as many tweets as you like in the Unpublished Tweets section and drag them to Published Tweets section when you like to tweet them or you could also directly write the tweets in the Published Tweets
Finally, If you liked this blog then make sure you react to this blog and leave a comment below as it really motivates me to write more quality content!
Thank you if you read the blog so far, and don't forget to tag me on Twitter @Deveshb15 if you tried this out!