Create a 3D text using Three.js!
Learn Three.js a JavaScript library while creating a 3D text project!


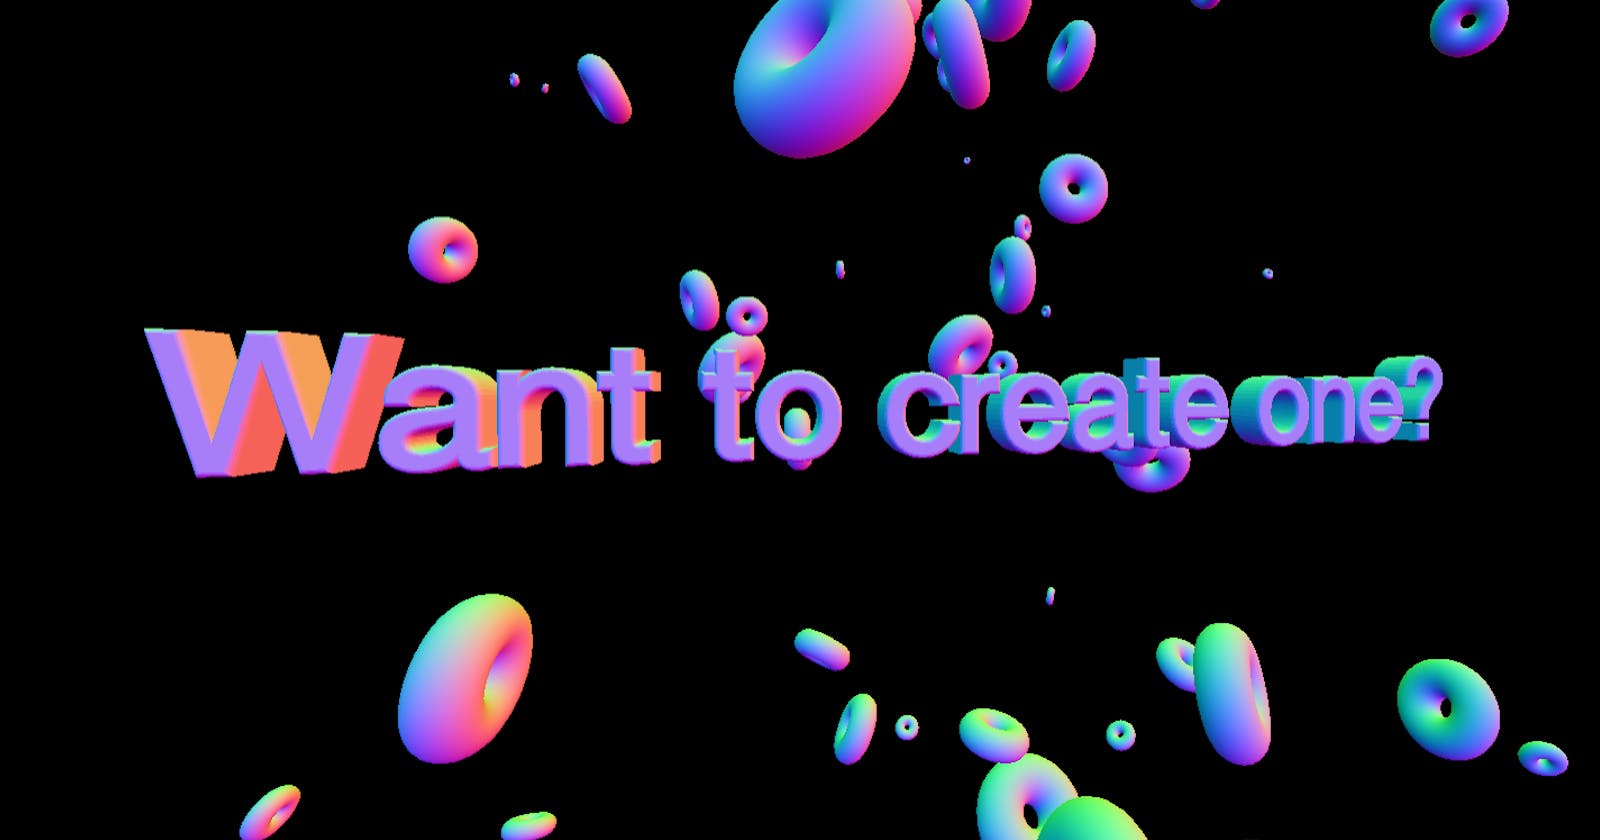
Let's create a 3D text that can be controlled using orbit on the web!
You can try out the finished version over here -> name.deveshb.ml you can zoom in, zoom out and scroll to play around!
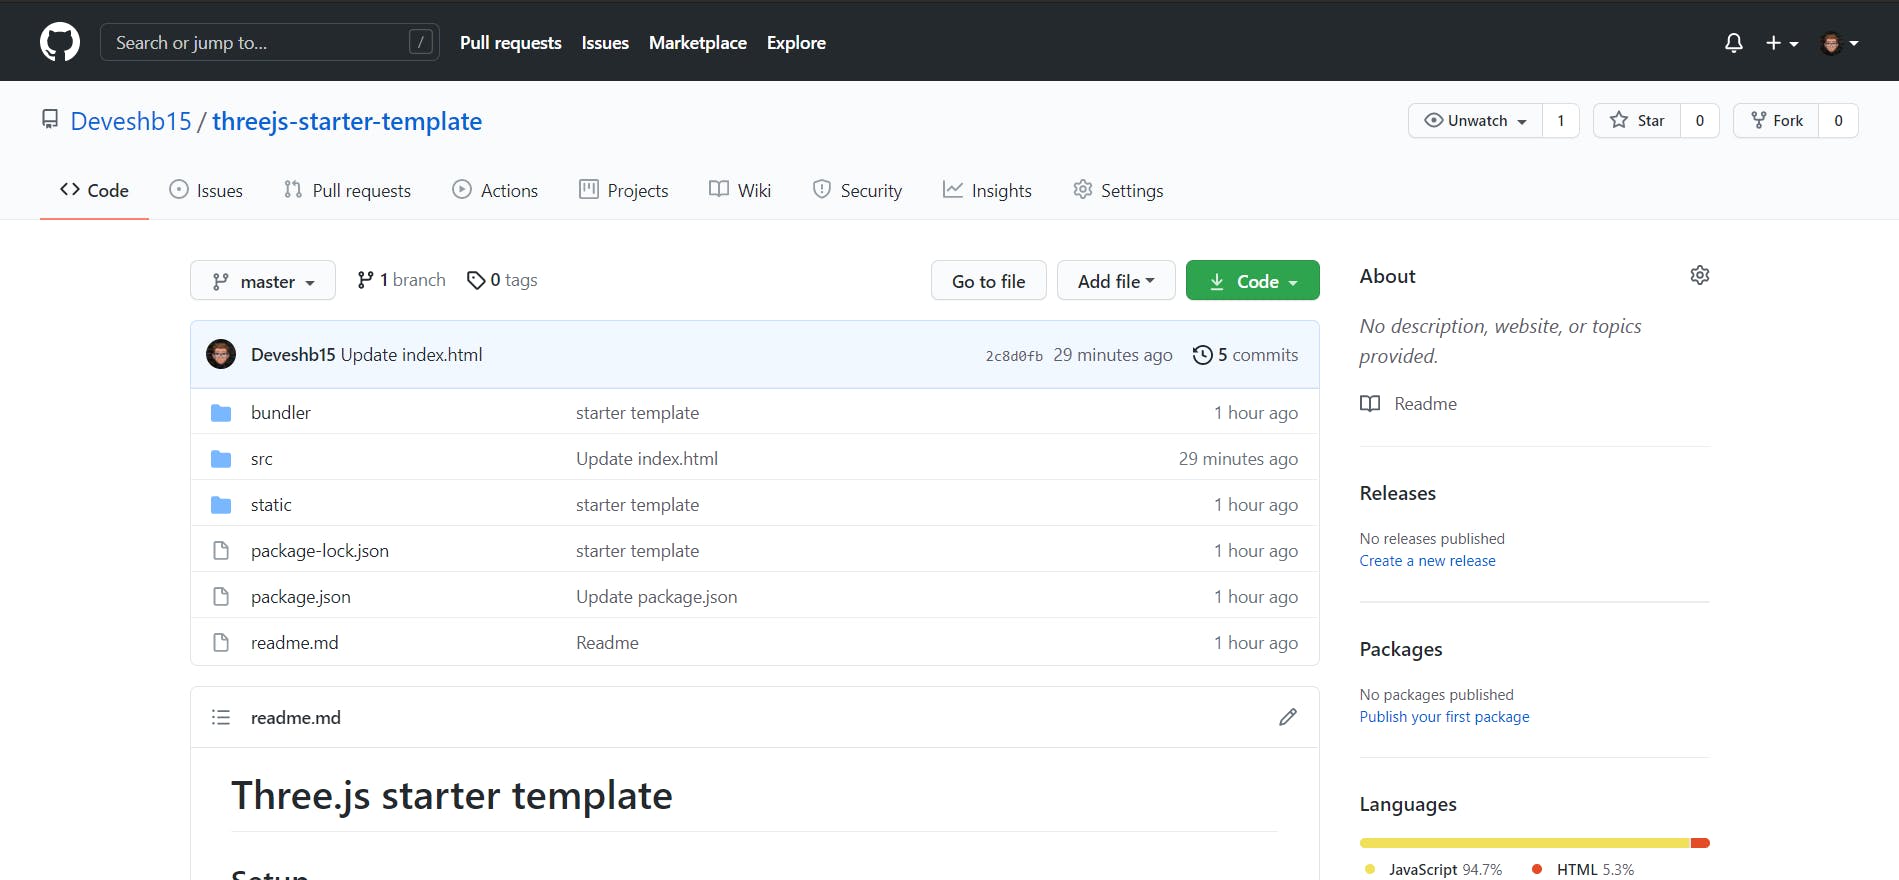
Step 1: fork and clone this starter template for threejs which contains all the settings for webpack, you don't have to know about webpack, it is just used as a bundler over here! Link to the starter template: github.com/Deveshb15/threejs-starter-template
After cloning just open your command-line tool and install the dependencies as follows:
# Install dependencies (only the first time)
npm install

# Run the local server at localhost:8080
npm run dev
Note: You need to download Node.js to install the dependencies.
Step 2: Next you'll find index.html, styles.css and script.js in the src folder, open the index.html and add a canvas with class 'webgl', we will use the class to query select the element in the JavaScript.
<!DOCTYPE html>
<html lang="en">
<head>
    <meta charset="UTF-8">
    <meta name="viewport" content="width=device-width, initial-scale=1.0">
    <title>3D text</title>
</head>
<body>
    <canvas class="webgl"></canvas>
</body>
</html>
Step 3: Next open the styles.css and add the following CSS, which is self explanatory.
*
{
    margin: 0;
    padding: 0;
}

html,
body
{
    overflow: hidden;
}

.webgl
{
    position: fixed;
    top: 0;
    left: 0;
    outline: none;
}
Step 4: This is where the fun begins but first we'll have to import our styles.css and threejs itself in our JavaScript file and then query select the canvas in our JavaScript and don't worry if you get confused as this is complicated, I'll link the finished repository at the end of the blog so you can always use that for reference.
import './style.css'
import * as THREE from 'three'

// Canvas
const canvas = document.querySelector('canvas.webgl')
Step 5: Now let's get started with threejs, we need 4 elements to get started which are
- scene
- object
- camera
- renderer
Let's first get started with scene and initialize it:
// Scene
const scene = new THREE.Scene()
Step 6: Next we'll create an object which would be our text and donuts, but for that, we'll make use of a threejs class called FontLoader, you can read more about it over here -> threejs.org/docs/#api/en/loaders/FontLoader
But for using this class you'll need to load a font which we'll get in the folder 'node_modules > three > examples > fonts'.
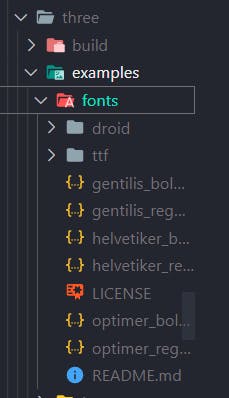
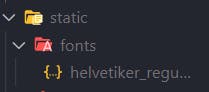
Choose and copy any font and then create a folder in static and name it 'fonts' and paste the font file over there!
Next step is to initialize the fontLoader and load the font!
 // Fonts
const fontLoader = new THREE.FontLoader()
Before loading the font, I wanted to tell you about objects in threejs, we call it 'Mesh' in threejs, and a Mesh takes in two parameters which are the 'geometry' and 'material'
So let's create a text object after loading a font!
fontLoader.load(
    "/fonts/helvetiker_regular.typeface.json",
    (font) => {
        //Geometry
        const textGeometry = new THREE.TextBufferGeometry(
            'Devesh',  //Text that you want to display
            {
                font: font,
                size: 0.5,
                height: 0.2,
                curveSegments: 6,
                bevelEnabled: true,
                bevelThickness: 0.03,
                bevelSize: 0.02,
                bevelOffset: 0,
                bevelSegments: 4
            }
        )

        textGeometry.center()  //to center the text at the axis

        //Material - make sure you use Normal material to get that gradient color
        const textMaterial = new THREE.MeshNormalMaterial()
        const text = new THREE.Mesh(textGeometry, textMaterial)
        scene.add(text)  //don't forget to add the text to scene
    }
)
You can read about Font Loader over here -> threejs.org/docs/#api/en/loaders/FontLoader
And if you want to read about TextBufferGeometry and know about bevel you can read this and play around -> threejs.org/docs/?q=TextGe#api/en/geometrie..
Step 7: Next step is to add the donuts to the scene, we will use many classes in this which I'll link after explaining the code, also this donut code comes in the font loader but to keep code clean and explain it better I've separated it, but you can checkout the GitHub repo at the end of the blog to get the idea of this!
fontLoader.load(
    "/fonts/helvetiker_regular.typeface.json",
    (font) => {
        //Geometry
        const donutGeometry = new THREE.TorusBufferGeometry(0.3, 0.2, 20, 45)
        //Material- make sure you use Normal material to get that gradient color
        const donutMaterial = new THREE.MeshNormalMaterial()

        //for loop to create 100 donuts
        for(let i = 0; i < 100; i++){
            const donut = new THREE.Mesh(donutGeometry, donutMaterial)

             //logic to give random positions
            donut.position.x = (Math.random() - 0.5) * 10
            donut.position.y = (Math.random() - 0.5) * 10
            donut.position.z = (Math.random() - 0.5) * 10

             //logic to give random rotations
            donut.rotation.x = Math.random() * Math.PI
            donut.rotation.y = Math.random() * Math.PI

            //to create random sizes of donut
            const scale = Math.random()
            donut.scale.set(scale, scale, scale)

            scene.add(donut)
        }
    }
)
Links to read more about classes included in the code above!
TorusBufferGeometry -> threejs.org/docs/?q=Torus#api/en/geometries..
MeshNormalMaterial -> threejs.org/docs/?q=MeshNo#api/en/materials..
Step 8: In this step we'll initialize the camera so that we can see the objects on the screen!
// Camera
const camera = new THREE.PerspectiveCamera(75, sizes.width / sizes.height, 0.1, 100)

//play around with the position to get the proper display
camera.position.x = 1
camera.position.y = 1
camera.position.z = 2
scene.add(camera)
You can read about PerspectiveCamera over here -> threejs.org/docs/#api/en/cameras/Perspectiv..
Step 9: Before we see the object on the screen we'll need to initialize the renderer and for the renderer we'll have to get the size of the screen of the user to create an optimum display!
//Sizes
const sizes = {
    width: window.innerWidth,
    height: window.innerHeight
}

//Renderer
const renderer = new THREE.WebGLRenderer({
    canvas: canvas
})
renderer.setSize(sizes.width, sizes.height)
renderer.setPixelRatio(Math.min(window.devicePixelRatio, 2))
WebGL Renderer displays your canvas on the screen, you can read about it over here -> threejs.org/docs/?q=WebGL#api/en/renderers/..
Step 10: Next we'll have to add controls to the screen so that we can move around and for that, we'll have to import OrbitControls manually from the node_modules folder similar to the one when we got the font from the folder!
import { OrbitControls } from 'three/examples/jsm/controls/OrbitControls.js'

// Controls
const controls = new OrbitControls(camera, canvas)
//damping is similar to inertia but it just makes it look more realistic
controls.enableDamping = true
Step 11: Now we'll have to make it responsive using 'resize' event listener and we'll update the sizes, camera, and renderer of the screen every time the user resizes the screen.
window.addEventListener('resize', () =>
{
    // Update sizes
    sizes.width = window.innerWidth
    sizes.height = window.innerHeight

    // Update camera
    camera.aspect = sizes.width / sizes.height
    camera.updateProjectionMatrix()

    // Update renderer
    renderer.setSize(sizes.width, sizes.height)
    renderer.setPixelRatio(Math.min(window.devicePixelRatio, 2))
})
Step 12: This is the last step in which we'll have to update the controls and renderer as we use OrbitController to change the perspective of the user!
const tick = () =>
{
    // Update controls
    controls.update()

    // Render
    renderer.render(scene, camera)

    // Call tick again on the next frame
    window.requestAnimationFrame(tick)
}

tick()
Link to the GitHub Repository -> github.com/Deveshb15/3D-text-threejs
This project was quite complicated and tough but take your time and explore the documentation of Threejs, the docs are simple and easy and you'll definitely fall in love with it while exploring!
Hope you liked the blog, and if you did make sure you hit those reactions, also follow me on Twitter @Deveshb15 where I post similar content every day!